
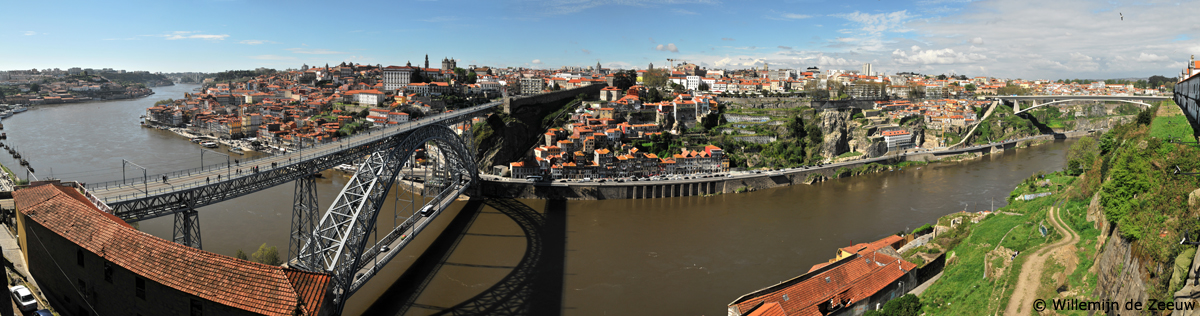
Whenever I’m taking a panoramic picture with my DSLR, there is always someone who laughs and asks, “why don’t you just use your phone for that?” The answer is very simple. Although the process is a little more complicated and time consuming, the result is always worth it. The quality of the panoramic pictures I take with my camera is far better than of those taken with my mobile phone. For most people, the photo quality of a mobile phone is sufficient. However, I think it’s worth the effort to take panoramic photos with your DSLR. Many people don’t know how this is done. Hopefully this guide will help.
1. Keep your camera straight
Let’s start with the obvious one: keeping your camera straight. A crooked horizon is annoying on a regular photo, but can usually be fixed. A crooked horizon on a panoramic photo has the potential to ruin the final result. Another problem that will occur if you don’t keep your camera straight is an excess amount of distortion. This will make it very difficult – if not impossible – for your software to stitch the image. Another tip that should be obvious: don’t move too much. Try to keep the camera in the same spot when you’re turning it, or the photos won’t overlap.
2. Take your pictures in portrait format
When photographing a landscape, it makes sense to take your photos in landscape format. When taking a panoramic photo, it does not. I would advise turning your camera and shooting portrait format pictures. This way, you’re giving your software more pixels to work with. It will not only make stitching easier, but it will also result in a panoramic photo with a higher resolution. Since you’re going to let the software do all of the work, it doesn’t matter how many photos are combined to produce the final result. I have stitched panoramic photos of up to 20 photos without any trouble.

3. Overlap generously
To understand the importance of overlapping, you have to understand what the software does. It opens your set of photos and looks for similarities. These similarities are aligned, after which the pictures are blended into one panoramic picture. If your photos don’t overlap enough, the software will not recognise the overlapping areas. I don’t know what the exact amount of required overlap is, but I tend to go for about 25%. In this case, I’d also like to refer to my previous tip. It doesn’t matter if your generous overlapping gives you a higher amount of photos. The stitching is done automatically, so it won’t give you more work.
4. Switch your camera settings to manual
Unless you have your camera on manual settings, it will measure the light and adjust the exposure accordingly. This is usually an advantage, but not when you’re trying to take a panoramic photo with your DSLR. Although some software can compensate for it, exposure differences usually result in a bad panoramic picture. You will probably still be able to see the individual photos, because the sky gets darker in patches, rather than smoothly. To avoid exposure differences, it is important to switch your camera to manual.
5. Beware of moving objects
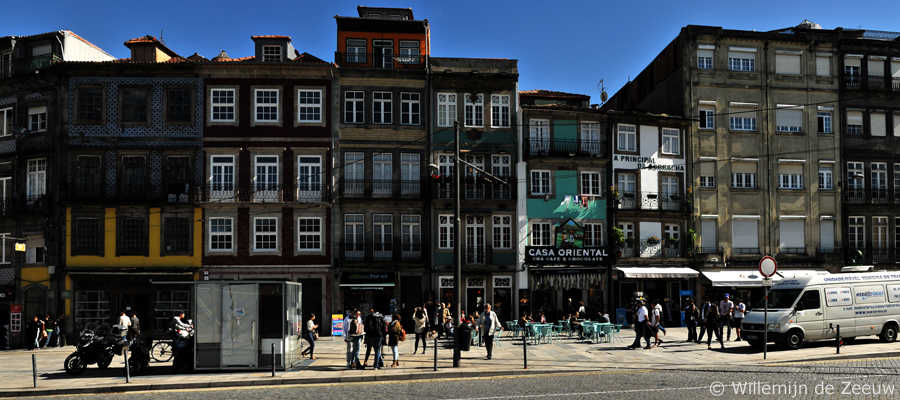
No matter what camera you are using for your panoramic photos, moving objects are always a problem. With a mobile phone, this results in strange elongated shapes as someone walks or drives through the shot. On panoramic pictures taken with a DSLR, it usually results in a picture in which you see the same person twice. This unwanted effect is very hard to avoid when you try to take a panoramic picture of a busy area. The best thing to do is to take your time and wait for as many people as possible to move out of your shot. Another strategy is to take the same set of photos a couple of times, so you’ll have multiple attempts at stitching the same panorama.
6. Software to stitch panoramic photos
Okay, so I’ve put my camera on manual and kept it straight. I’ve taken portrait format pictures with plenty of overlap. I’ve managed to avoid moving objects in my photos. All of this to help the software, but how do I stitch my photos? What software do I use?
There are plenty of answers to this question. I’ll discuss two. The first one has my preference: photoshop. I’m still using Photoshop CS3, but I have no doubt the panorama feature will function similarly in newer versions. After opening Photoshop, go to File > Automate > Photomerge. Choose the photos you’d like to use for the panorama. I tend to leave the settings on automatic, but feel free to experiment once you’ve got the hang of it. Photoshop will open all of your images, align them and blend them. Afterwards, all you need to do is crop the edges.
If you don’t own Photoshop, but would still like to be able to make panoramic photos, Autostitch is a great alternative. I haven’t used it much recently, since I tend to use Photoshop. Autostitch is very simple to use, but it’s main advantage is that there is a free demo available here.
7. Experiment!
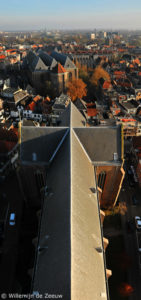
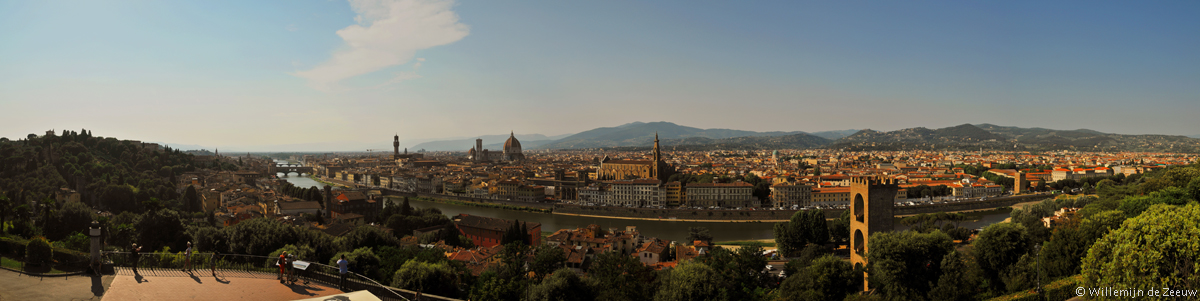
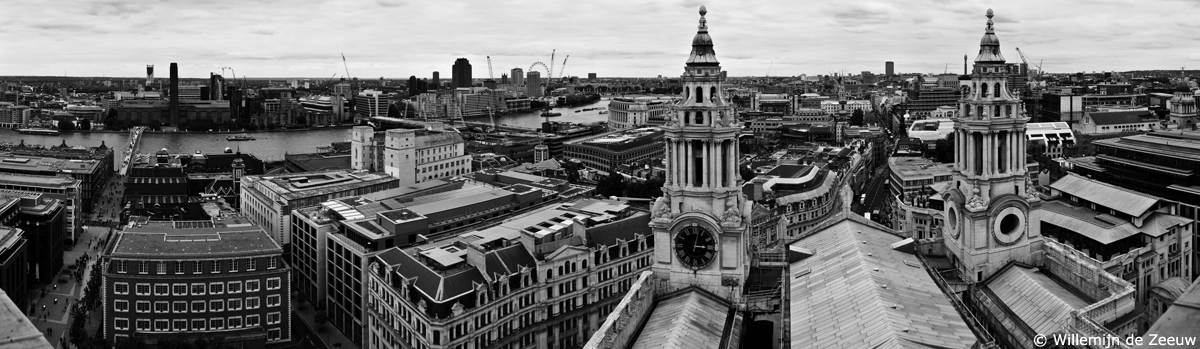
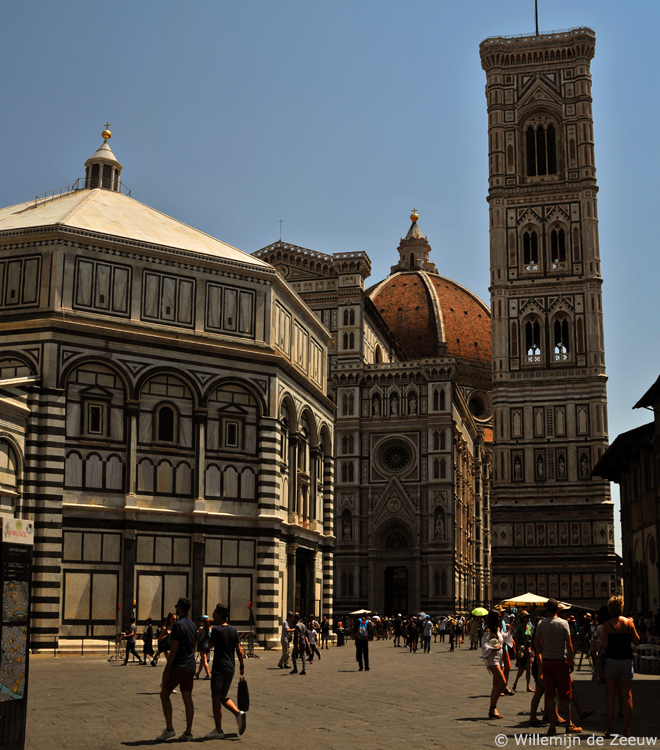
Once you’ve mastered regular panoramic photos, try capturing a large building by taking a grid of 6 or 8 photos, or take a vertical panoramic photo of a tall building or from a high viewpoint. These pictures will require some more work in photoshop, because they will get quite distorted. Sometimes it’s the only way to capture a large building in a city, because it’s simply impossible to stand far enough away to fit the whole building in your shot. The photo I took of the Duomo of Florence is an excellent example of this.
How often do you take panoramic photos when you travel? Do you ever take them with your DSLR? How did these tips help you? Please let me know in the comments!
These are great tips! I don’t do too many panoramas but when I do, I usually follow much of what you pointed out. Never done a vertical panorama though, so I’ll have to consider that in the future!
Thanks for reading and good luck experimenting with vertical panoramas!
My boss at the firm has come to love photography. This would be a perfect article for her. I’m sticking to my old Pentax – a DSLR, but one which does not have even half of these functions.
Do feel free to share this article with her 🙂
As long as your camera can be on manual settings, this can be done with any camera though.
Now that you mention it, I’ve never taken one with my DSLR but I will try it now! We bought our first “fancy” camera about a year ago and I am still getting to know it. Thanks for sharing!
Good luck and thanks for reading! I hope my tips will help.
I don’t think I’ve ever tried to shoot a panoramic on my DSLR before! I’ve only ever used my compact and phone. These are really great tips though so I will give it a go! Thanks for sharing
Good luck and thanks for reading!
Thanks for the how to. I usually use my phone, but I just go a new camera so I will have to give this a try. I’m sure the result is much better.
Camera pictures are so much better. The difference becomes especially clear when you have them printed. I’m glad I could help. Thanks for reading and good luck with the new camera!
Great to read this. I was taking some panoramas with my Panasonic G7 mirrorless and they turned out ok and I can see from your tips that I was definitely trying to do most of the things right. Now I know even more!
I’m glad to hear you found my tips helpful. Thanks for reading!
I’ve tried to do this multiple times and failed! I’ll try your way next. Thanks for the tips.
The most common reason for panoramic photos to fail is moving around too much when you take the pictures. I’m glad you’re giving it another try. Good luck and thanks for reading!
I’ve been looking at doing some stitched compositions lately but you just reminded me I need to get out there and do it’ You really do get the best images that way. Some good tips here, thanks.
Good luck and thanks for reading!
I’ve been using photoshop for years for all kinds of purposes but I never knew the photomerge options exist! So many nice tips I will keep in mind and try next time I stumble upon a breathtaking view!
I love photoshop, I keep discovering new things even though I’ve been using it for years. Thanks for reading!
Great tips! And your photos look awesome! I like panoramics but I need to practice more to get better at them. I’ll give this a try!
Thanks! I’ve found that practicing and experimenting are the best ways to improve your photography. Good luck.